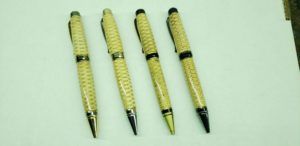
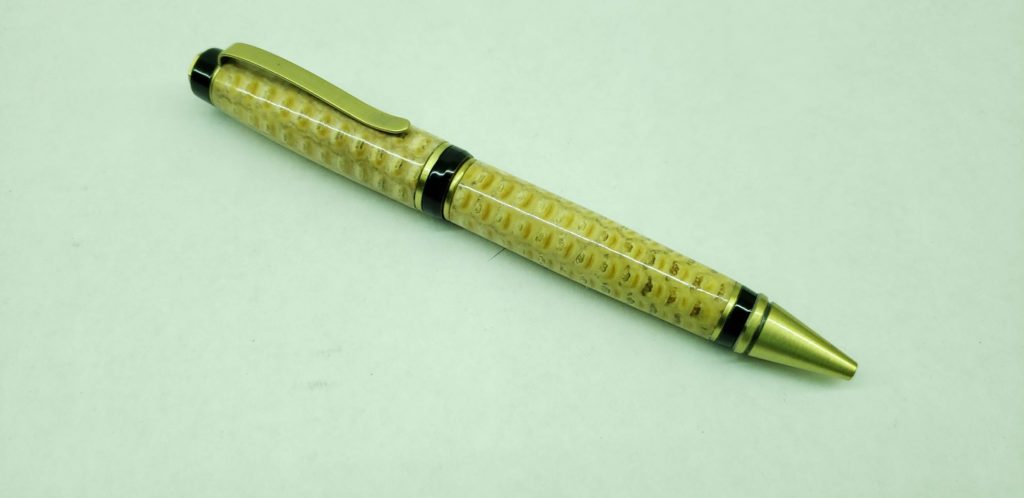
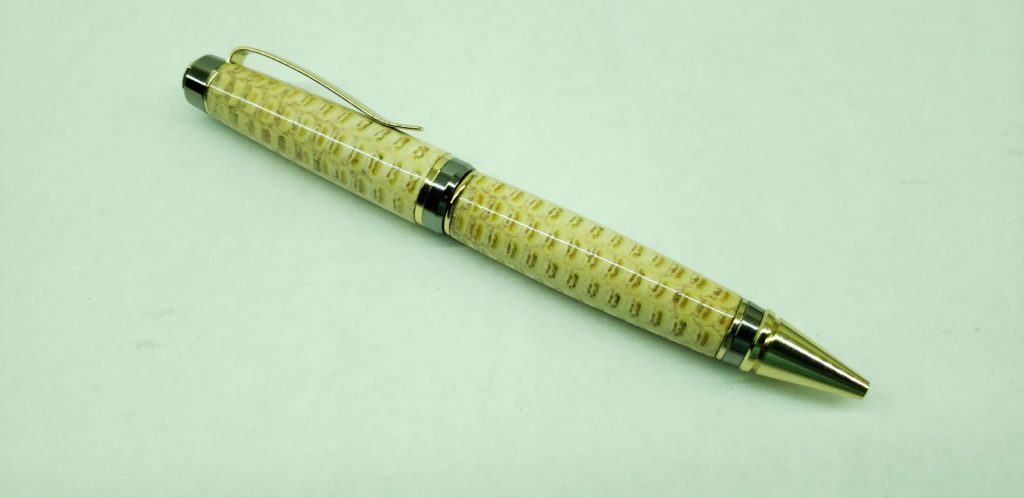
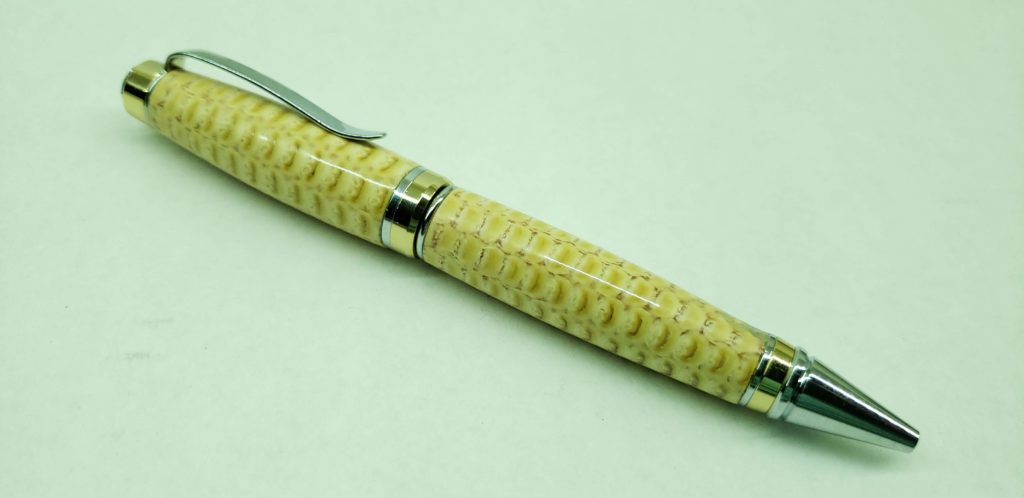
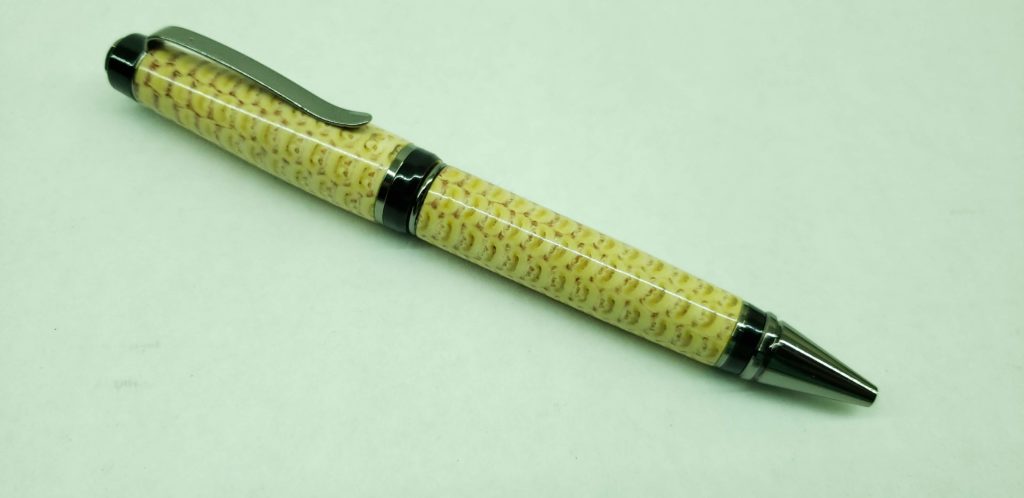
Yes, corn cob pens! I’ve made a dozen or so of these over the years, they are very popular around here. We recently brought a bunch of pens in to Legacy Outfitters, a store in Logansport that sells items made by local artists and craftsmen, and several of them sold. One of these was a corn cob pen. The customer who bought it asked if I could make three more. So here they are being made.
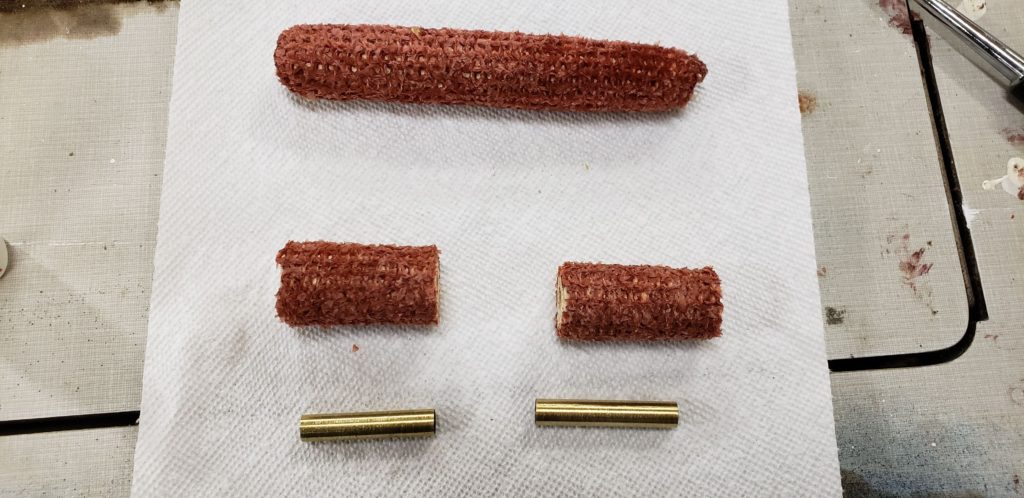
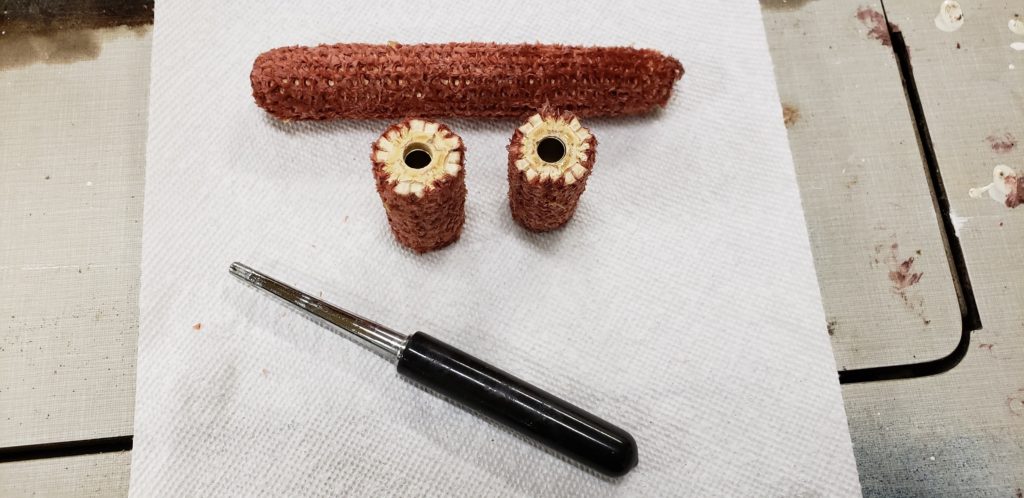
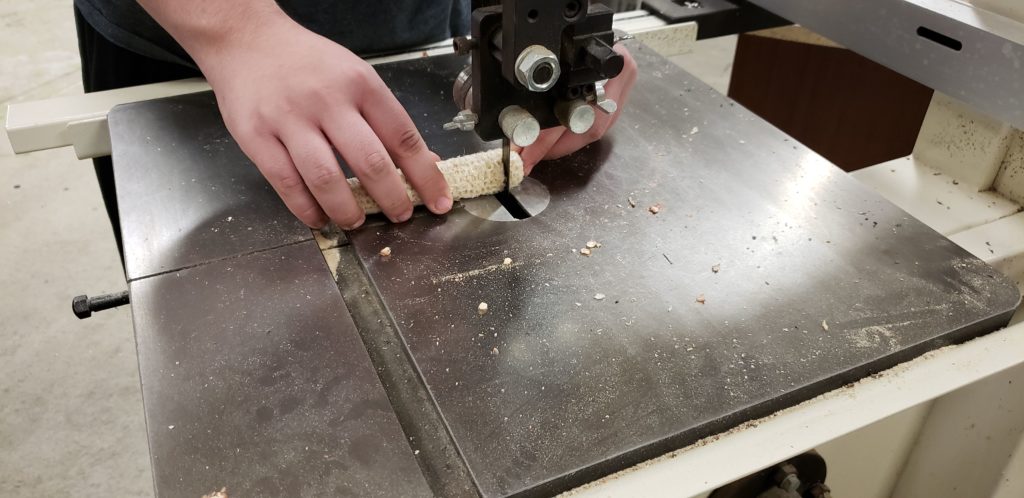
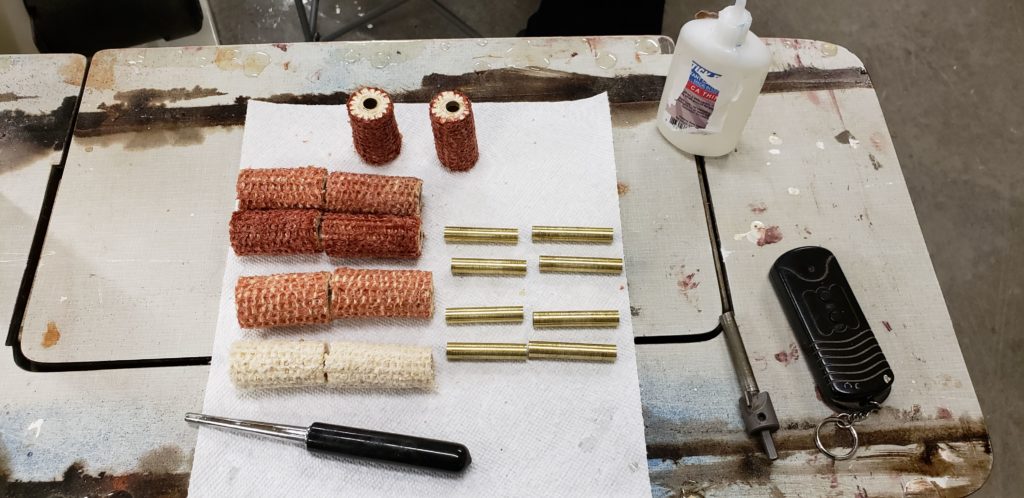
It all starts with a corn cob. Dry. Don’t go pick an ear out of your garden and chuck it up. It needs to be dry. I bought a bag of ears of corn for feeding squirrels. The were nice and dry, and there were a few different colors. First cut them to length, drill them out, and glue the tubes in.
CA works well with corn cobs.
I had five sets of tubes, so we cut up five pairs of blanks.
Then drilled the rest and glued them up.
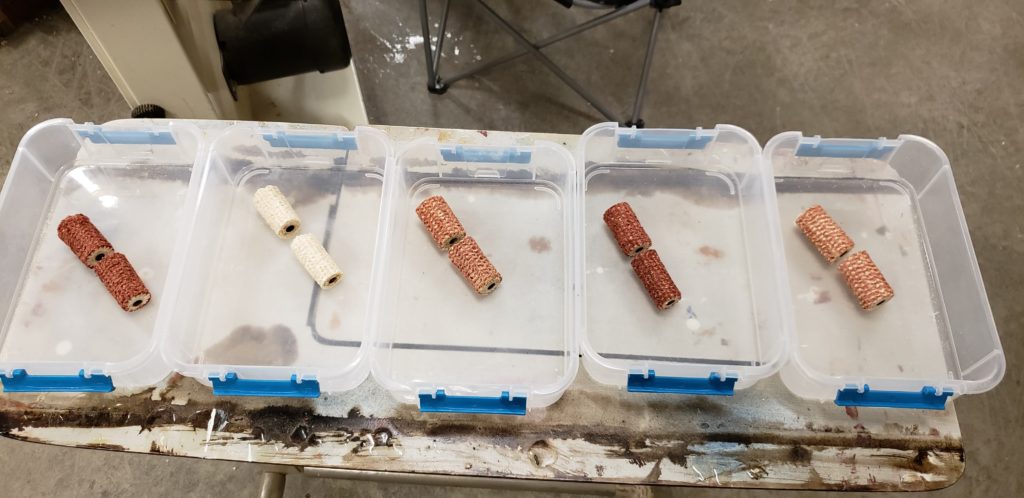
Here are the five pairs of blanks. I squared the blanks up with a squaring jig for my disk sander. This works much better than the barrel trimmers. It doesn’t catch or tear out.
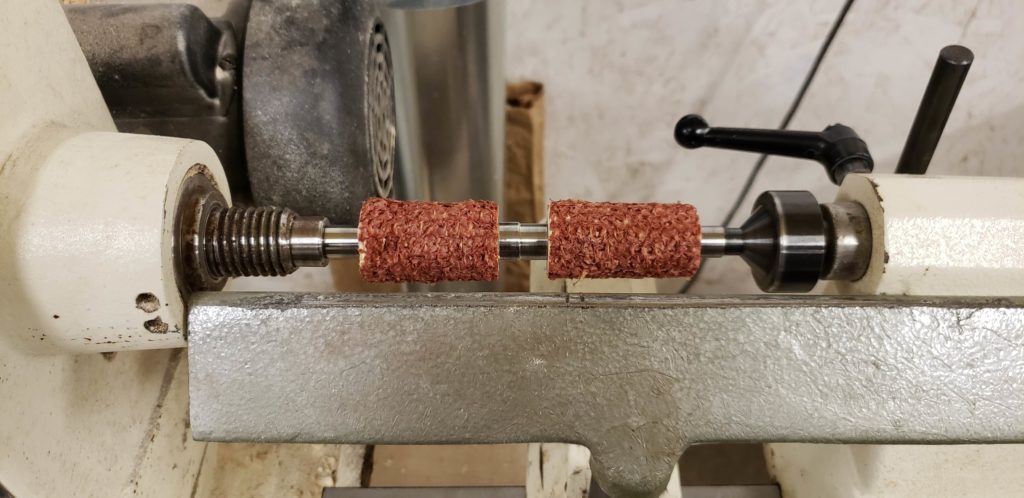
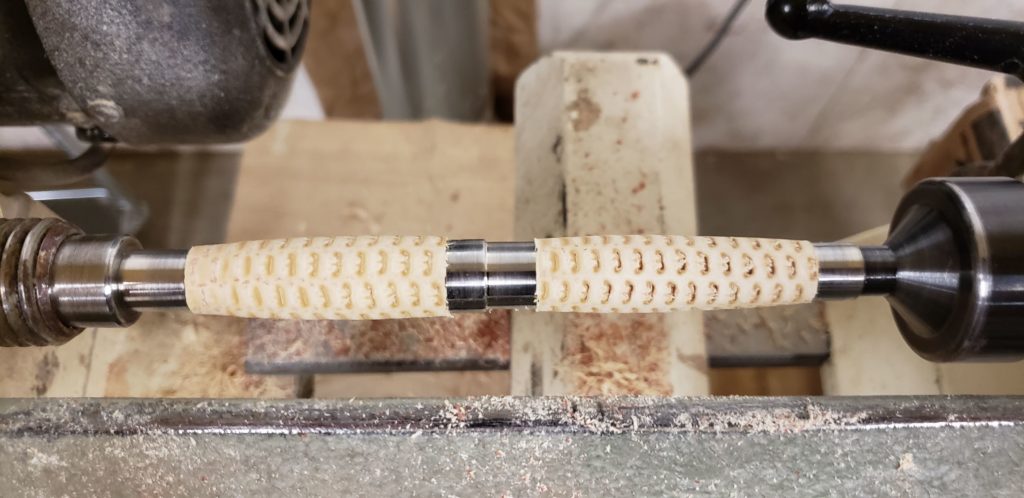
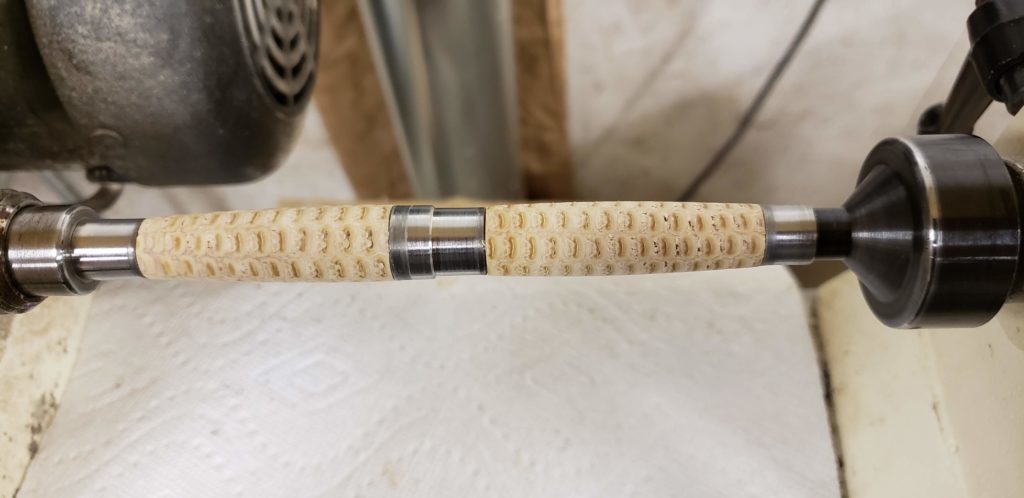
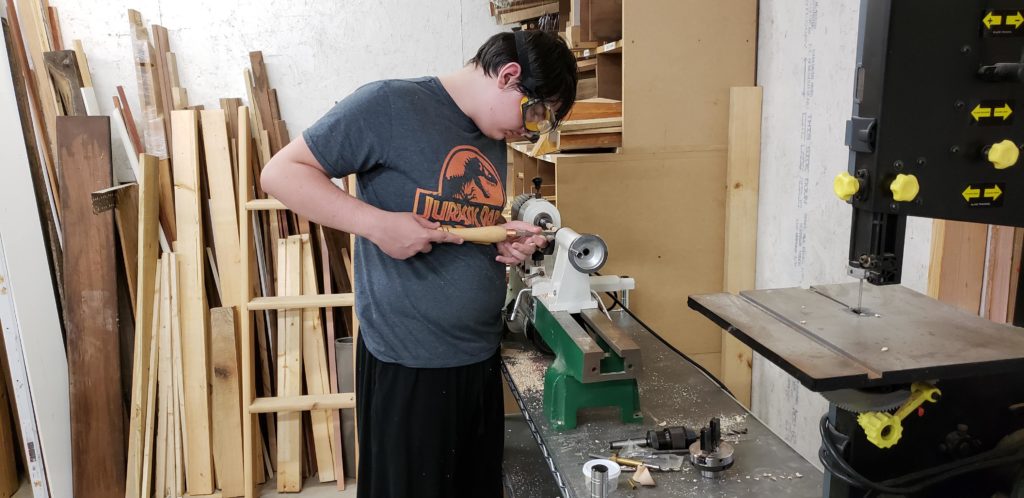
I mounted the blank on the mandrel and started turning it down. Corn cob is very soft, so I use a sharp spindle gouge and make light cuts.
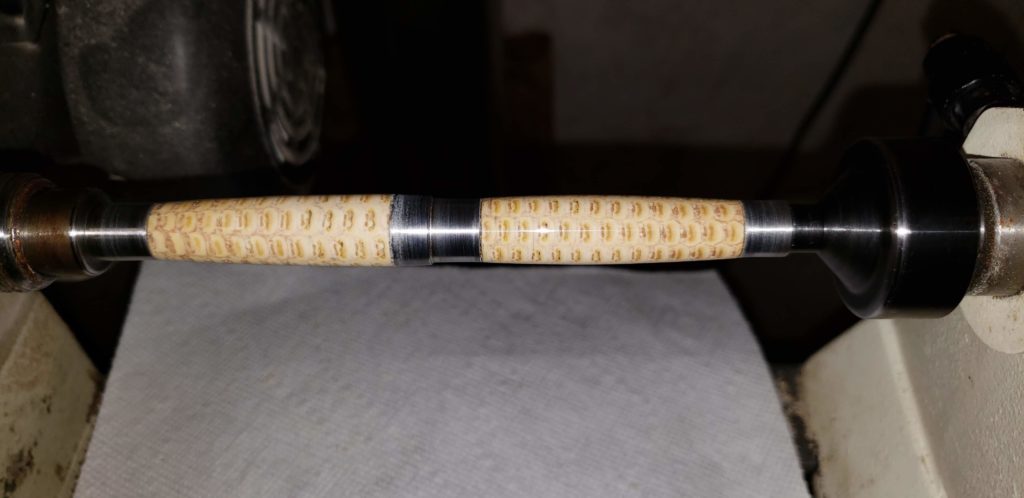
Once it’s turned down almost to the bushings, I applied a good coat of thin CA, followed by a coat of medium. This hardens the cob, and the medium fills in the pits and gaps. It may take a couple of coats. I apply accelerator after each coat.
Once this is done, I sand it with 13 different grits, from 150 all the way to 12,000. I sand all the way before starting the CA finish. I apply a thin coat with a paper towel, apply accelerator, and then give it a light sanding with 600 grit. I apply 4 or 5 coats like this. Then I repeat the 9 Micro Mesh sanding grits.
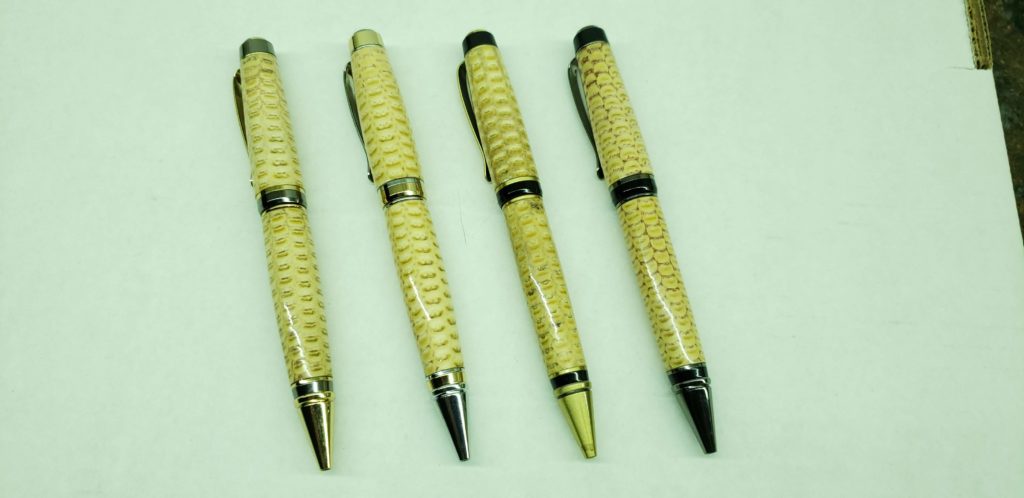
After 12,000 grit, it’s done. It basically has a plastic coating, polished like glass.
Here they are close up. You may have noticed there are only four pens.
Somebody got a little aggressive roughing them down and had his first blank explosion. Luckily, corn cob isn’t that hard.
Thanks for reading!

