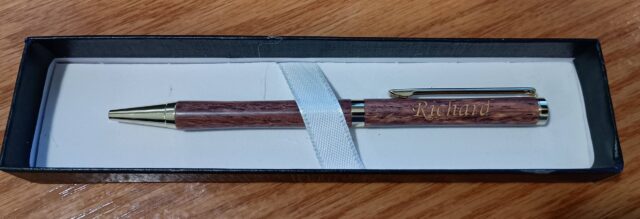
I got an order for a dozen laser engraved pens, meant to be Christmas gifts. OK, not a problem. I have played with engraving pen blanks by just setting them on the laser bed and engraving them as if they were flat. For something with a larger diameter, this isn’t really a problem.
The order, however, was for a dozen slimline pens. The finished diameter of these is in the neighborhood of 3/8″. So when engraving these, if they are just held flat and engraved straight down, you only have about 1/8″ before the curvature causes a lot of distortion on the top and bottom. In my tests, this produced letters that were way too small.
The solution was to obviously try using the rotary attachment I purchased with the laser, with the express intention of using it for pen engraving. I had just never tried it.
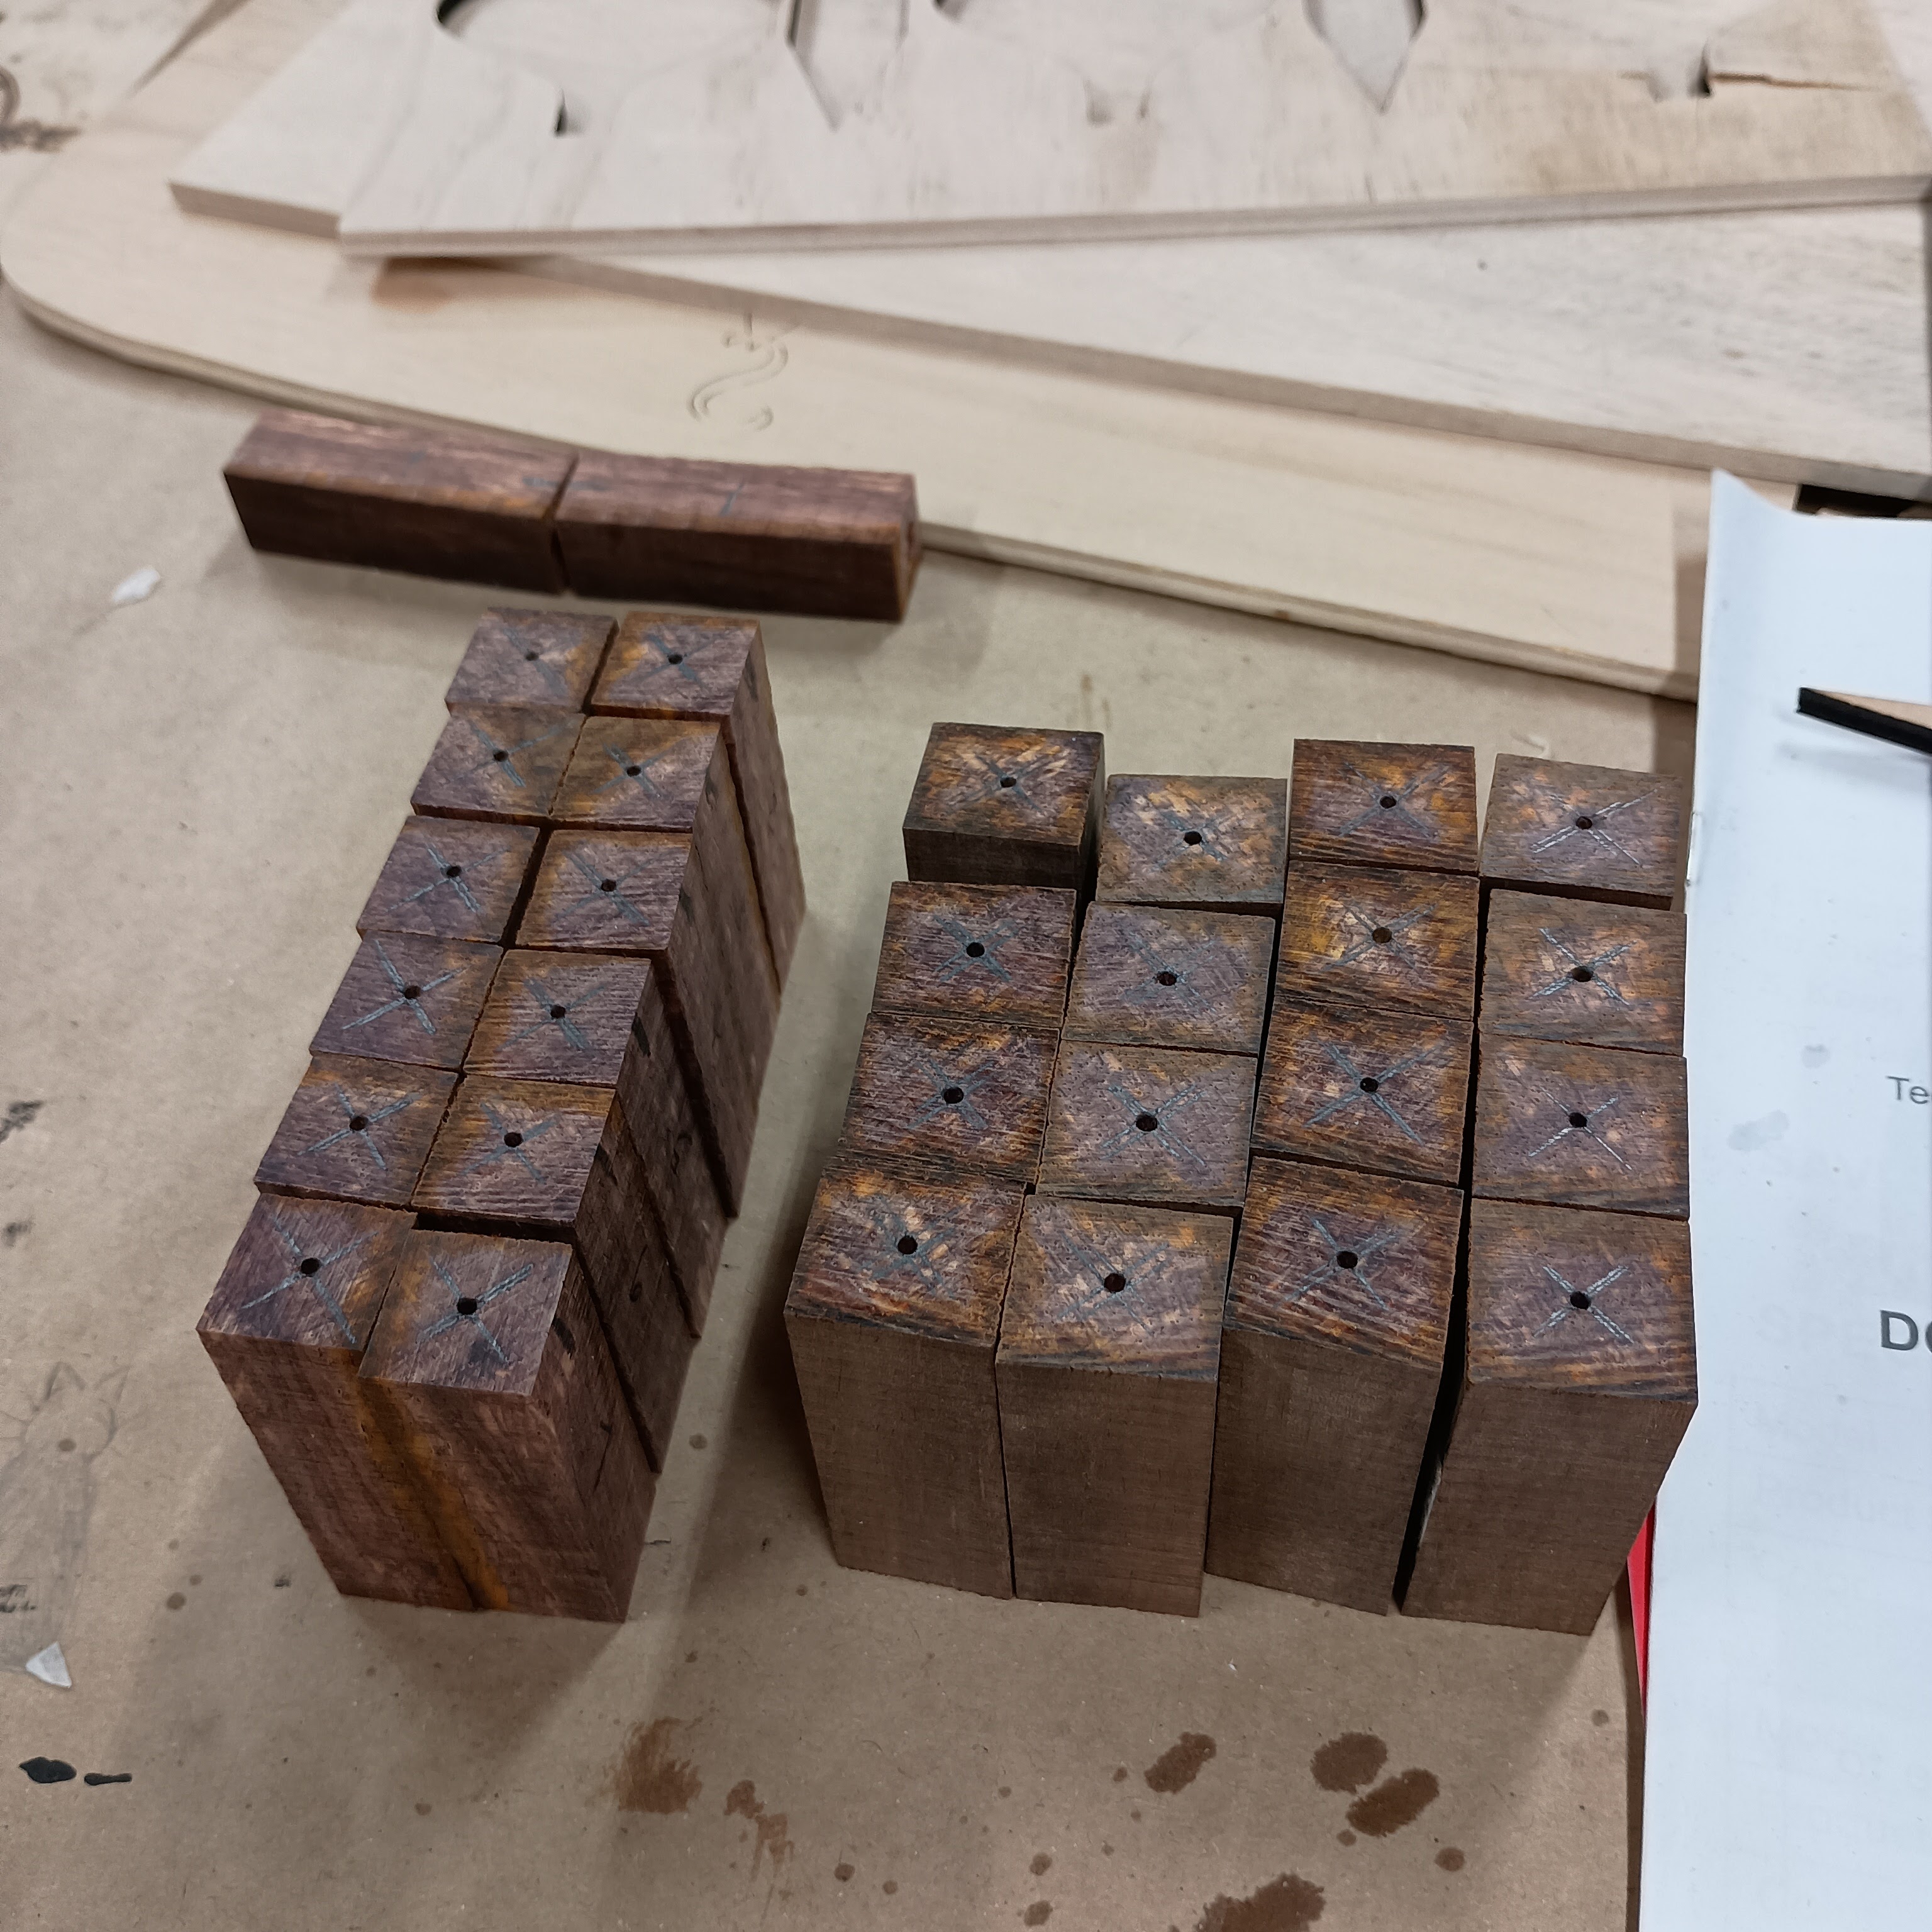
First, I had a dozen pens to make. Well, actually 14. I made one for my brother and his wife also. So I prepped 15 cocobolo blanks.
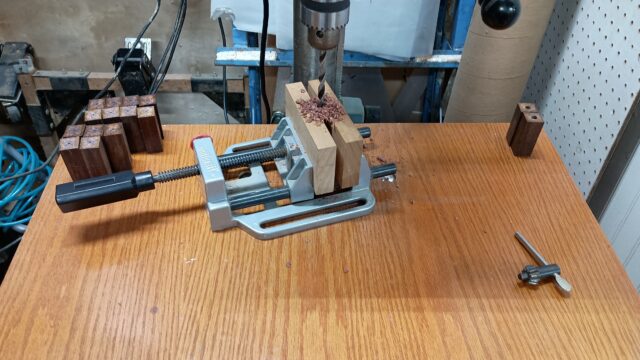
The blanks are drilled.
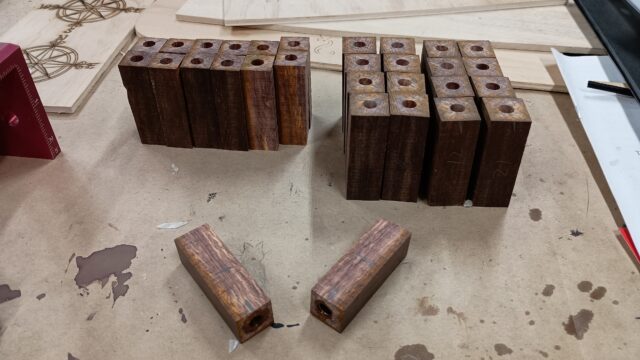
Tubes are glued in.
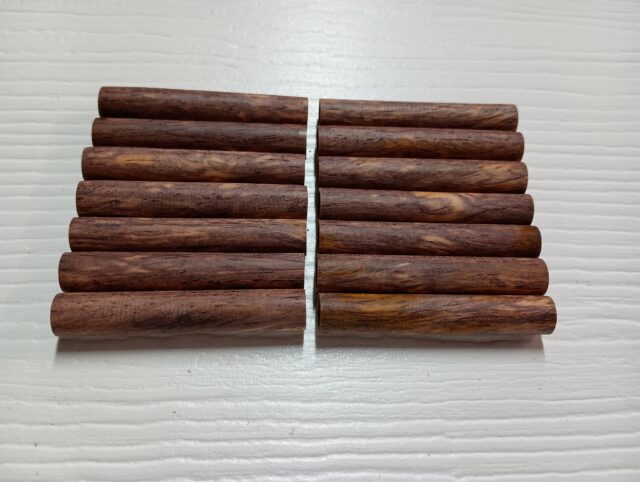
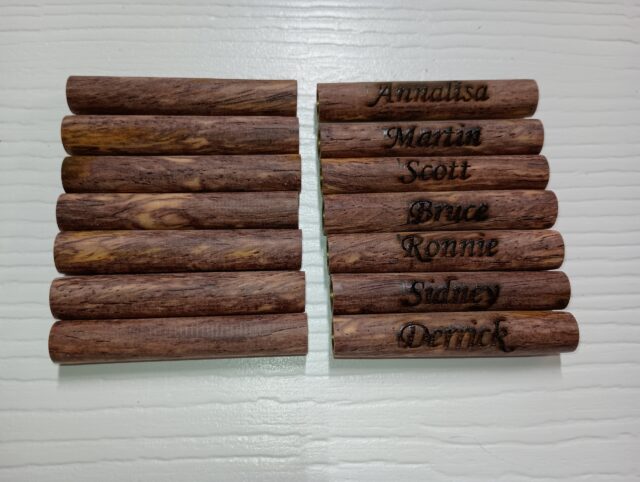
Next they were turned down to final dimension, ready to be engraved. I won’t go into detail there, you can see other pen turning articles on this site. So here are half of the blanks ready to be engraved.
I am using LightBurn as my laser software. Keep in mind these settings are for a Comgrow Comgo Z1 10W laser. First, power everything up and home the laser. Then, using the Move tab in LightBurn, move the laser head away from the limits. I like to go about 100 mm in the Y direction, and 20 in the X. Disconnect the Y1 and Y2 connectors from the Y stepper motors, and connect the Y1 connector to the rotary.
Open the Console tab and enter the following commad, and wait for it to complete:
$101=65
This sets the step count per mm for the rotary stepper motor. This is different than the axis stepper motors. To set it back, enter
$101=80
Next is to enable and set up the rotary. On the LightBurn toolbar, click the Rotary Setup button.
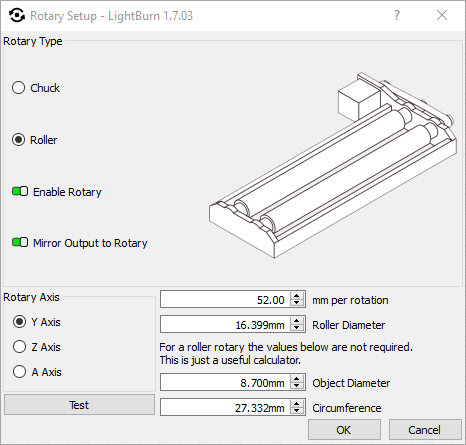
Within the Rotary Setup dialog, select Rotary Type: Roller. Check Enable Rotary, and depending on your rotary orientation, check Mirror Output to Rotary. Since I have the rotary stepper motor positioned at the front left, this should be checked. Settings for the Comgrow rotary are 52.00 mm per rotation, and 16.399 mm Roller Diameter. We have the rotary connected to the Y Axis.
For the diameter of the pen blanks, I used a digital caliper, and found they averaged 8.7 mm. This is entered in the Object Diameter field, and LightBurn will calculate the circumference. Click OK to save these settings.
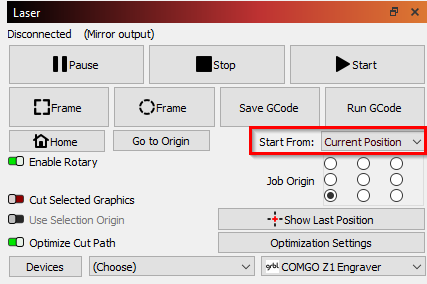
On the Laser tab, set the Start From: setting to Current Position.
Next, add the artwork or text you want to use into LightBurn. Keep in mind, if you are using artwork, you will want the height of it to be less than or equal to the circumference of the item you are engraving. If it is more, the top and bottom will overlap.
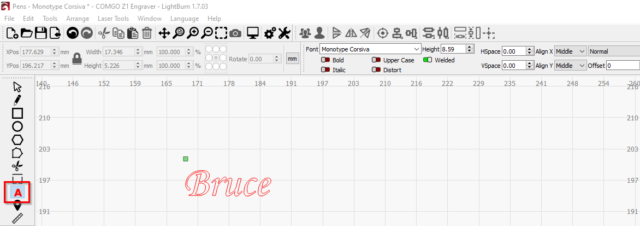
I am using text. So using the Create / Edit Text tool, create the text you want in the work area.
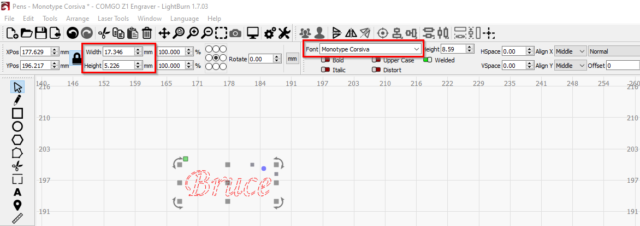
Once you have the text placed, you can work with various settings including font, width, height. Choose a font you like. If you are like me, you would turn a bunch of cylinders the size of the pen blanks to use for testing, and burn various fonts, sizes, settings on them to determine which you like best.
Change back to the Select tool and select the entire text. Here you can change the font, or the height or width. Again, test your changes to find what you like best.
Once that is all set, I take the width of the graphics, and subtract that from the length of the blank. Divide that in half, and that will tell me how far from the edge to start the engraving. This will help center the text on the blank. Of course, if you want it positioned somewhere else, then by all means, change it. I put a pencil mark on the blank where I want the engraving to start.
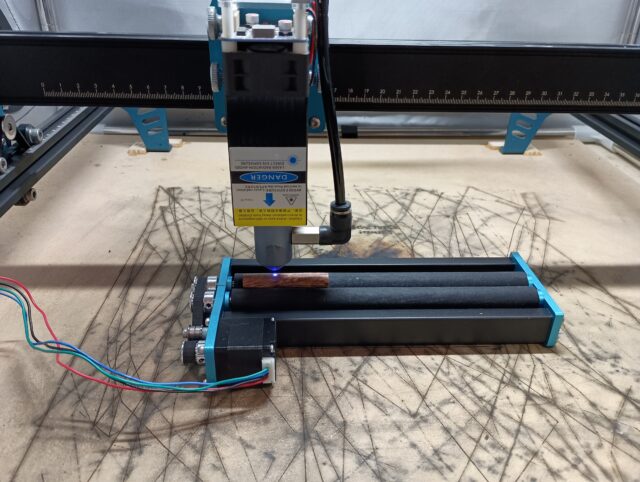
I position the rotary on the bed so that it is parallel to the gantry. I then position the laser so that it is centered between the rollers. I fire the laser on low power and put the blank on the rollers, putting the mark on the laser.
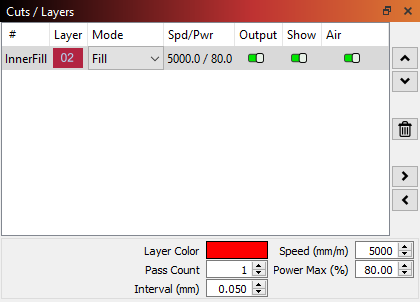
For the actual engraving settings, go to the Cuts / Layers tab. Choose a fill mode for the selected layer. I set mine to speed 5000 mm/m, 80% power, 1 pass, and an interval of .050 mm. You will want to test these settings with your laser. The interval is the distance between passes. If it is too high, you will see horizontal lines inside your engraving. I set mine to 0.050 mm, which is half of the default interval.
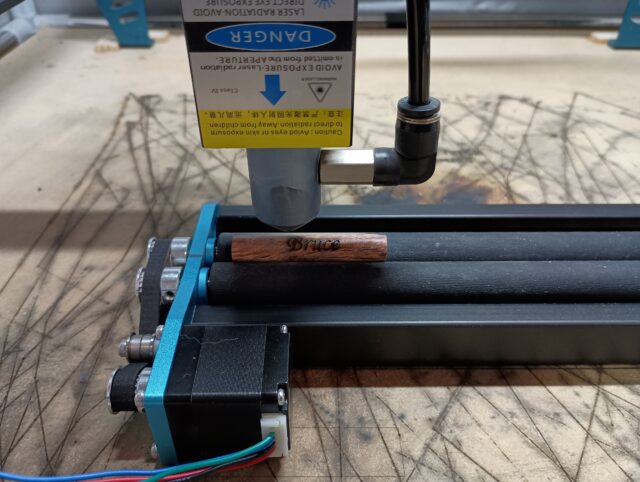
Ready to burn. Start the engraving, and on mine, it took between 30 and 50 seconds to complete, depending on the amount of text. I also use air assist to keep the cut cleaner. I always have the air assist on.
Here are half of them engraved. The actual engraving part is about the least time consuming part of the whole process.
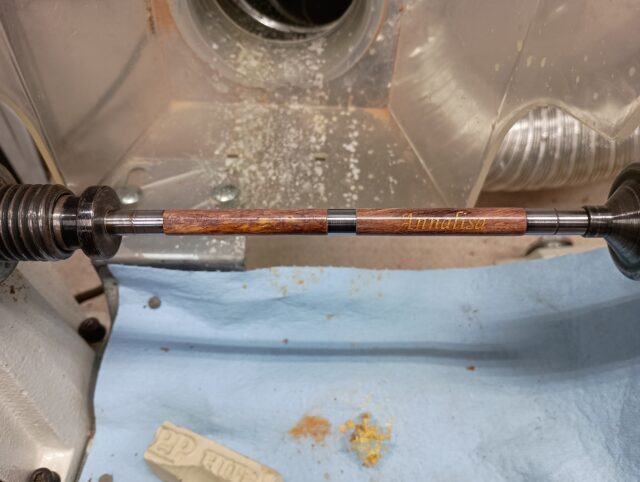
Now while just the engraving looks good, I decided to fill them with gold mica powder. I packed it into the engravings and set it with thin CA glue. Then to the lathe. Here, all that was left was sanding and finishing. I sand my pens down to 12,ooo grit micro mesh, and then finish with Hutt Perfect Pen Polish, gloss.
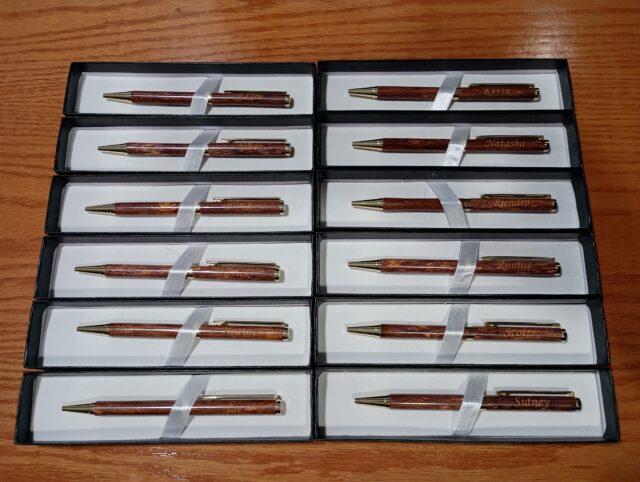
All that’s left is pressing them together and boxing them up.
Overall, this was a very satisfying project.
Thanks for viewing. I hope you find this useful.

